Image Cropper Online — Image Cropper Online tools make it easy to remove unwanted edges and focus attention on the most important part of a picture. Cropping is useful when a photo has too much empty space, a product needs a cleaner frame or an image must fit a specific layout. It is different from resizing: a crop changes which part of the picture remains, while resizing changes the dimensions of the selected image. In this guide, you will learn how to crop JPG, PNG and WebP files, choose an aspect ratio, keep important details inside the frame and export a result that suits your website or social platform. A careful crop can improve presentation, but it should not hide context or misrepresent the original image.
Table of Contents
- What does an online image cropper do?
- How to crop JPG, PNG and WebP images
- Choose the right aspect ratio
- Crop vs. resize: understand the difference
- JPG, PNG or WebP: which format should you choose?
- Avoid common cropping mistakes
- Prepare images for websites and social posts
- Quick Checklist
- Frequently Asked Questions
What does an online image cropper do?
An image cropper lets you select a rectangular area of a picture and discard the parts outside that selection. Most tools provide drag handles, a preview and optional aspect-ratio presets. The result is a new image focused on the selected area. This can remove distracting borders, improve composition or create a consistent thumbnail size. A cropper does not automatically make an image sharper, increase its original detail or guarantee a smaller file. Those results depend on the export format, dimensions and compression settings.
How to crop JPG, PNG and WebP images
Open a trusted crop tool and choose the source image from your device. Move the crop frame over the subject, adjust its edges and preview the result at the final size you plan to use. Select the output format only after checking whether you need transparency or broad compatibility. Export the cropped copy and open it once to verify that the subject is not cut off. Keep the original image unchanged so you can return to it if the crop needs adjustment.
Choose the right aspect ratio
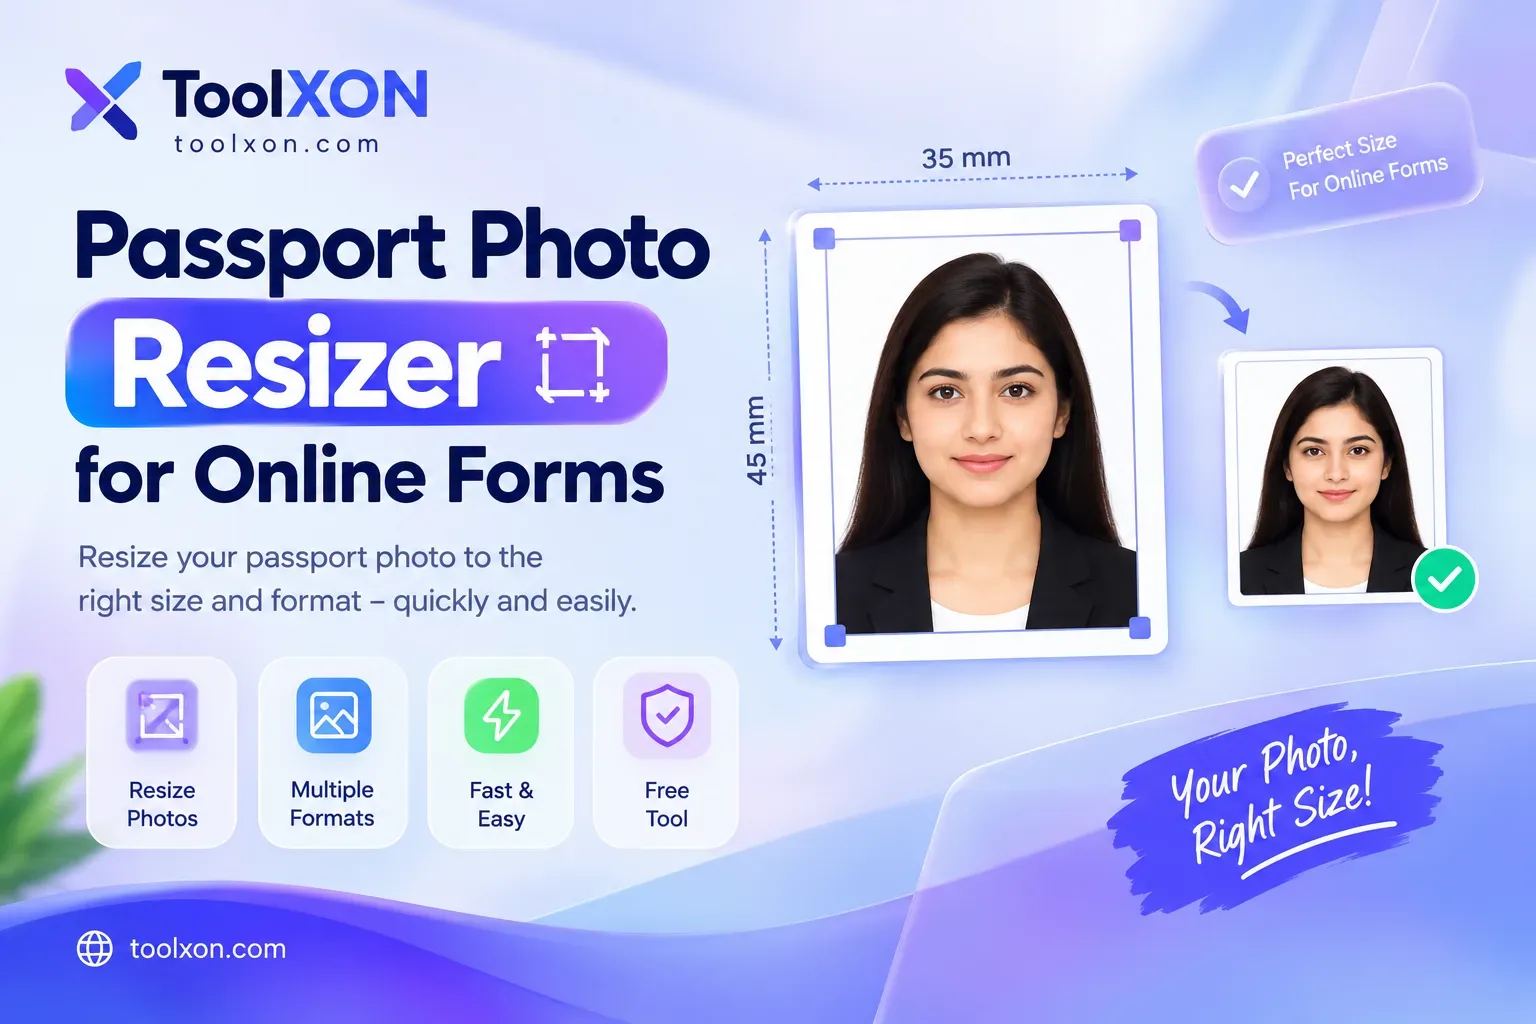
An aspect ratio describes the relationship between image width and height. A square 1:1 crop can work for profile images or product tiles, while a 16:9 frame is common for video thumbnails and wide banners. Portrait layouts need a taller frame. The right ratio depends on where the image will appear, so check the current requirements of the destination platform or theme. Leave a little breathing room around faces, text and product edges; a crop that looks fine in an editor may feel cramped on a small screen.
Crop vs. resize: understand the difference
Cropping removes pixels around the edges; resizing changes the width and height of the remaining image. If you crop a small area and then enlarge it, the result may look soft because fewer source pixels are available. If the goal is to fit a fixed layout, you may need both operations: crop for composition, then resize for the required dimensions. Do not stretch an image disproportionately just to fill a box. Use a crop that matches the intended shape instead.
JPG, PNG or WebP: which format should you choose?
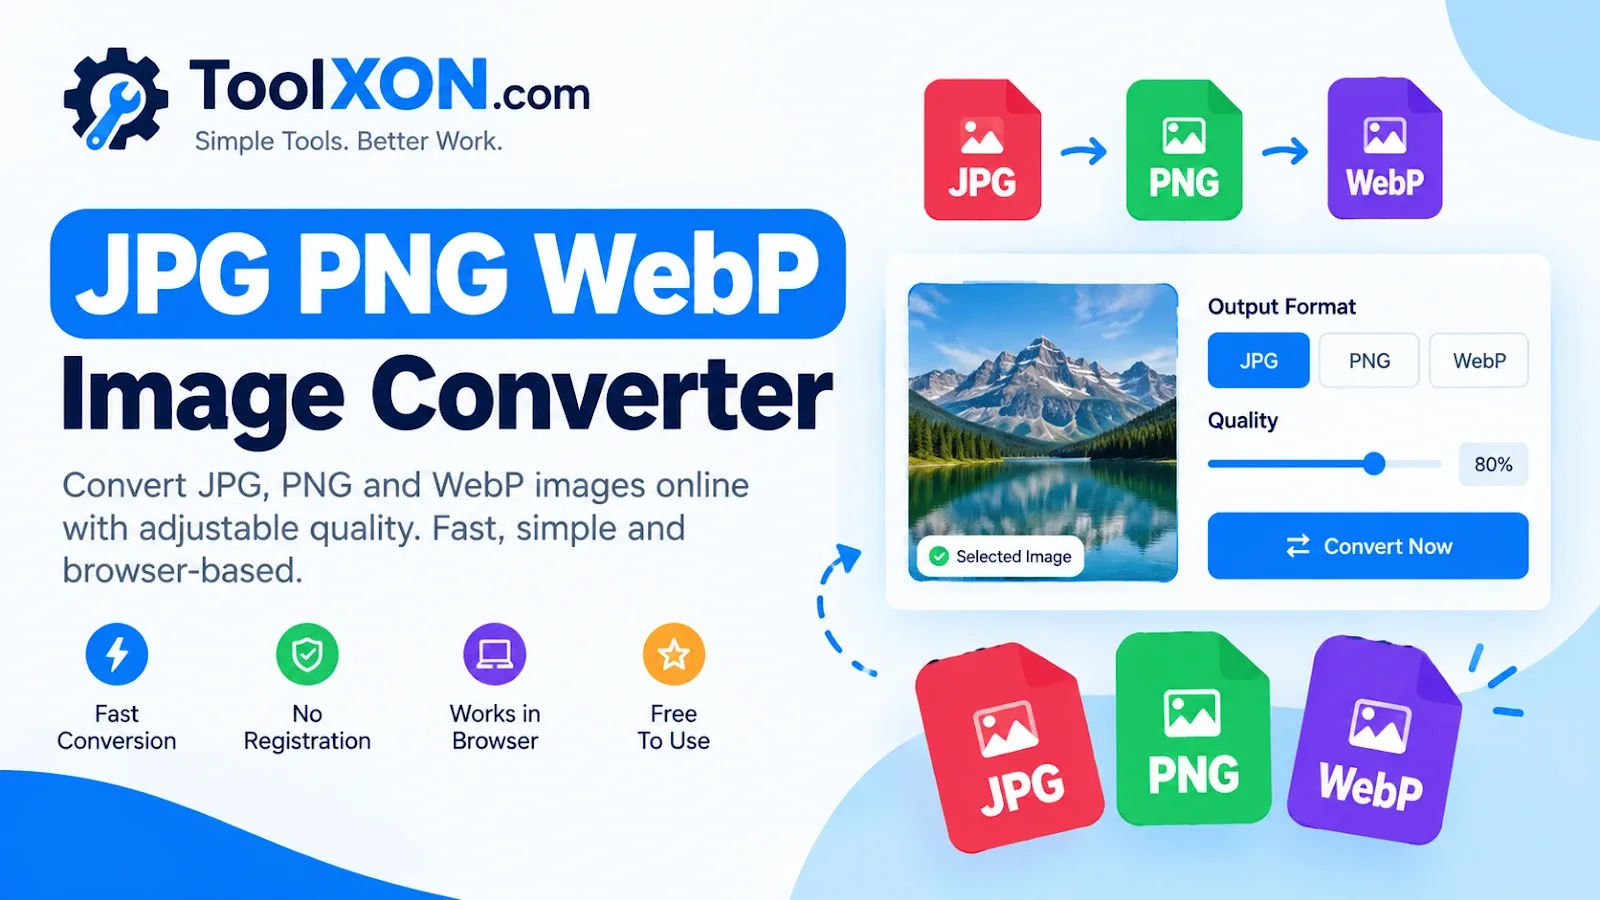
JPG is widely supported and often suitable for photographs, but it does not support transparent backgrounds. PNG is useful for screenshots, graphics and transparency, although files can be larger. WebP can provide efficient compression and supports transparency, but check whether your publishing workflow accepts it. Cropping itself does not determine the best format. Select the format based on the image type, quality needs and website compatibility, then inspect the exported file size and appearance.
Avoid common cropping mistakes
Do not place a face, logo or product too close to the frame edge. Check that important text remains readable and that a crop does not remove context needed to understand the image. Be careful with screenshots containing private messages, account details or location information. When preparing images for a responsive website, test the crop on mobile and desktop because different layouts may display the image differently. If a platform automatically crops thumbnails, preview its crop behavior before publishing.
Prepare images for websites and social posts
Start with a high-quality original, decide where the image will be used and select a matching ratio. Keep a master copy for future edits. Export only the dimensions you need instead of uploading an unnecessarily huge file, and compress it carefully when page speed matters. Add descriptive alt text separately in your website editor; cropping does not create accessibility information. Finally, verify the image on the actual page so that the subject, layout and loading behavior all look right.
Quick Checklist
- Start with the safest checks before changing advanced settings.
- Use official apps, files and support instructions whenever possible.
- Keep a backup of important files and settings before major changes.
- Review the final result and confirm that it solves the original problem.
Frequently Asked Questions
Can I crop a WebP image online?
Yes, when the cropper supports WebP input and output. Check the supported formats before uploading and verify the exported file.
Does cropping reduce image quality?
Cropping removes parts of the image but does not automatically lower the quality of the remaining pixels. Re-encoding, compression or enlarging a small crop can affect quality.
What is the best aspect ratio for a thumbnail?
It depends on the platform and placement. A 16:9 frame is common for video thumbnails, but always check the destination’s current guidance.
Is cropping the same as resizing?
No. Cropping changes the visible area; resizing changes the pixel dimensions of the image that remains.
Final thoughts: This guide is intended as a practical starting point. Check the options available on your own device or platform, and confirm important changes before relying on them.
ToolXON.com – Practical technology guides and useful online tools.